| Back to the Plastic Scale
Modeling page
|
|

|
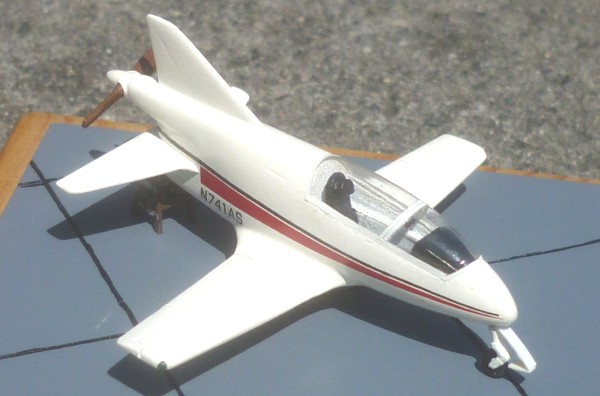
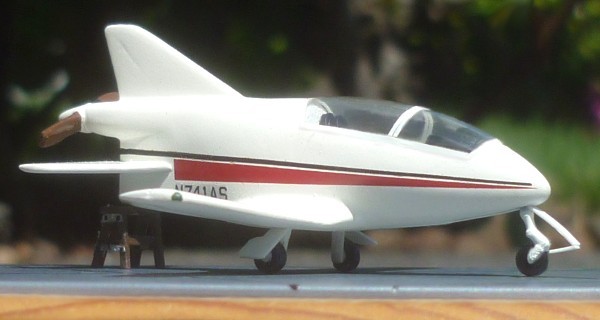
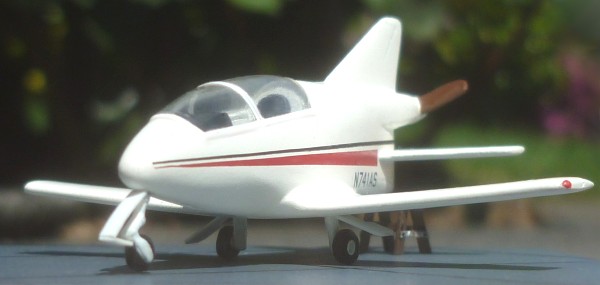
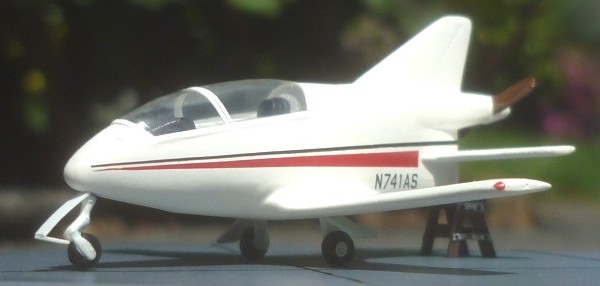
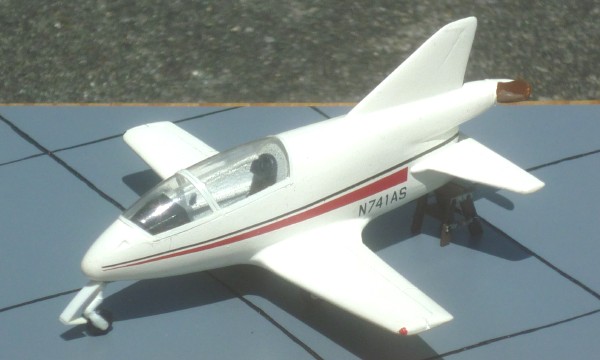 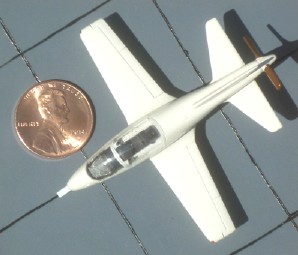 I had always liked the original short-wing propeller-powered version, so I chose that option when I built the kit. The wings were shortened per the instructions, and I used the prop included for the prop-driven version. The kit had only a few pieces, but it was a fun little build, and it's really cute!
The completed model is REALLY tiny. How tiny is it you ask? That's a shiny new penny there next to it for size comparison. The wingspan is only 2 and 3/8 inches, and the fuselage, from the tip of the nose gear door to the tip of the prop spinner in the rear is also just 2 and 3/8 inches! |
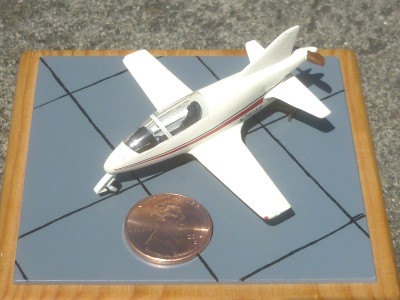 With a model this small, you really need a base to display it properly. A famous artist once told me that the display base for a model should never be small enough that pieces of the model hang over the edge. The entire model should be well within the outlines of the base. With that sage advice in mind, I measured, and positioned, hemmed, and hawed . . . and then cut a rectangle of sheet plastic of the immense size of . . . three inches by two and three-quarters inches. After spraying the plastic a medium grey, pavement section lines were drawn on the "concrete" with a pencil. A tiny fine-point paintbrush was used to hand-paint the pencil lines gloss black to represent the tar sealing joints between the slabs of concrete. Hand-painting the lines produced the uneven lines typical of the tar joints one sees in real life.
The wood base was a simple piece of pine board about 3.4 inches by 3.15 inches, squared up, sanded smooth, and given a couple of coats of FutureŽ floor polish as a stain. The plastic "concrete" was attached to the wood base using spray adhesive. Before spraying the bottom of the plastic with the spray adhesive, I masked off about 1/16 of an inch around the edges of the bottom of the plastic to keep the spray adhesive off the edges and from making a mess. Spray the bottom of the plastic with spray adhesive, unmask the edges, press the plastic onto the wood, and "Voila!" A simple realistic airport tarmac base. |
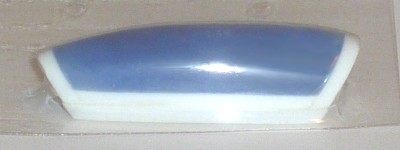 The kit came with a vacuum-formed canopy taped to an injection-molded plug to keep it from getting munched in shipping. For some reason which now escapes me, I decided to make my own canopy. I took the plastic canopy plug, fitted it to the model, sanded it to shape, and then added sheet plastic molding extensions to produce an edge-free canopy and give me some room to trim it to fit. The canopy was molded using 0.007" butyrate-acetate clear plastic, which accepts glue, unlike some other plastics. You can see the plug with the mold extensions and a molded canopy above.
Minor details to finish out the model included adding a cockpit interior (necessary with that big bubble canopy), and adding plastic card landing gear doors for all three landing gear legs. Decals were included in the kit for the wing, stab, fuse, and stab flashes, but I chose to pilfer my airliner decal box for an N-registration and fuselage accent stripes. The model was a confirmed tail-sitter. I've seen several BD-5s sitting on the ramp on their tail - no pilot on board means they are tail heavy, and until the pilot climbs in, on their tail they sit. Scale it may be to have the model sitting on it's tail, but it still offended my sensibilities, so I scratch-built a little two-step step-ladder to hold the tail up, which completed the model. I vaguely recall the model getting a second place at a Seattle IPMS Spring Show a few years back, but the real fun for this model is just it's terminal cuteness.  |
 |
 |
 |
 |
|
Back to the Plastic Scale Modeling page
|
|

|